

How to print a design on a cardboard box?
I see many good box ideas fail at the last step. The print looks dull, the color rubs off, and the box does not match the brand.
I print a design on a cardboard box by choosing the print method first, then matching the board, ink, finish, and box-making process. For premium rigid boxes, I usually print the wrap sheet first and then mount and form the box.
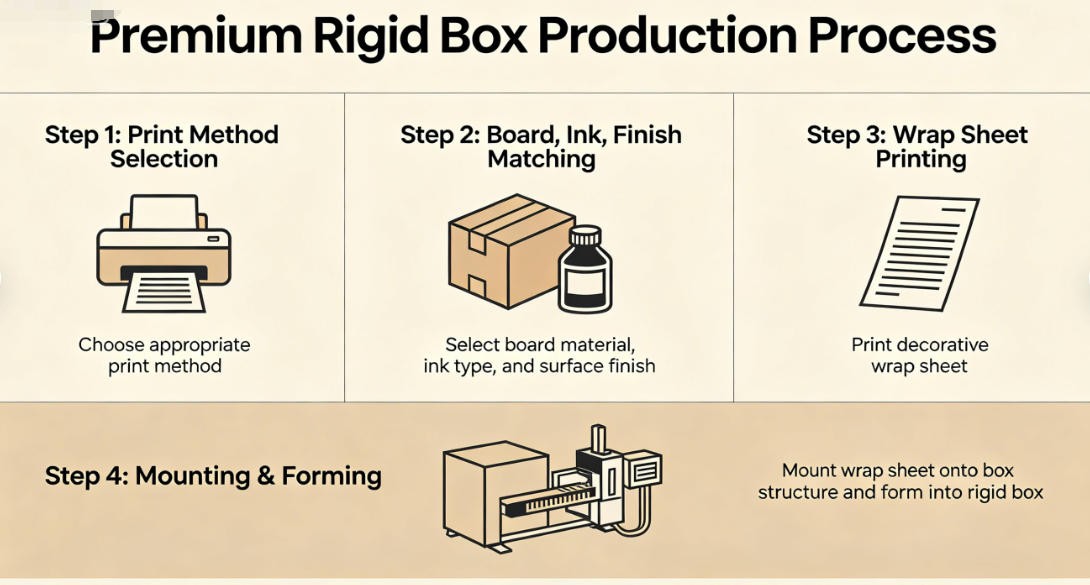
When I work with box buyers, I do not start with the ink. I start with the final use. I ask if the box is for shipping, retail display, cosmetics, books, or gifts. That one answer changes everything. A simple shipping carton needs strong and low-cost printing. A premium rigid box needs sharp graphics, clean wrapping, and stable forming. That is why I always connect printing with the full box process. If I only talk about color, I miss the real result. If I talk about the full process, I can help readers choose a better product and reach out with clear needs.
Can cardboard boxes be printed with full-color designs?
I often meet buyers who want strong color on cardboard, but they fear the surface will absorb ink and kill the design.
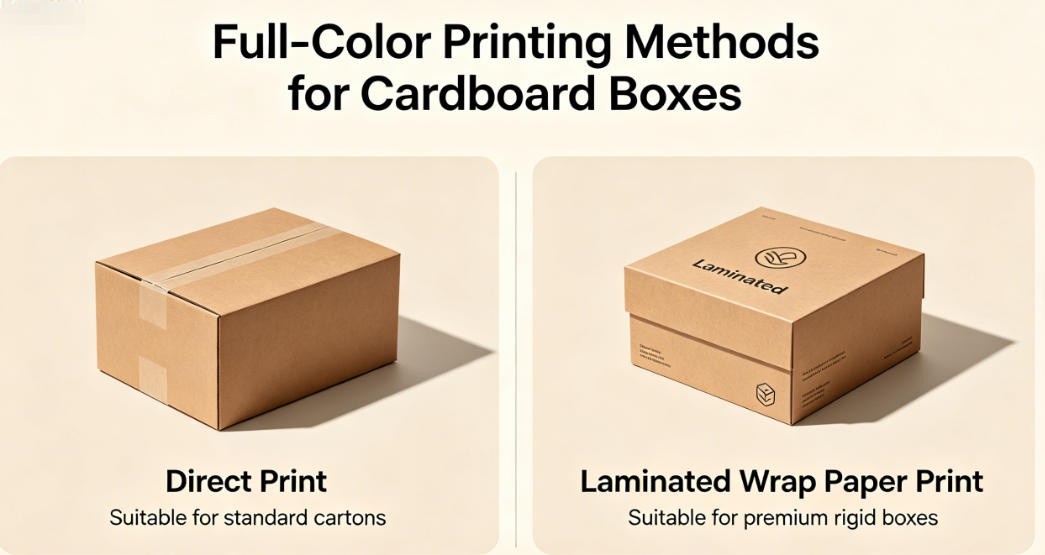
I can print full-color designs on cardboard boxes, but I choose the method by box type. I use direct print for some cartons, and I print laminated wrap paper first for premium rigid boxes.
What I Do First
When I talk about full-color printing, I split the job into two groups. I treat corrugated shipping boxes one way, and I treat rigid set-up boxes another way. Corrugated board can take direct print, but the flute under the liner can soften small details. Rigid boxes give me a better look because I can print coated paper first, then glue that printed sheet onto greyboard. That is the path I like for gift boxes, watch boxes, perfume boxes, and book-style boxes.
I also look at the finish before I choose the print run. If I need rich color, I may add lamination, varnish, or foil details after printing. If I need clean corners and stable shapes, I match the printed sheet with the right box-forming machine.
| Box type | How I usually print it | Result I expect |
|---|---|---|
| Corrugated shipping box | Flexo or digital direct print | Lower cost and solid branding |
| Folding carton | Offset print on paperboard | Sharper images and cleaner text |
| Premium rigid box | Print wrap paper first, then mount to board | Best color, best luxury look |
When I want readers to go from idea to production, I like to point them to real machine options. For rigid box work, I would look at Fully Auto rigid box machine 2024 and Fully Automatic Box Folding Machine. If I want special shapes, I also check Semi Auto Polygon Rigid Box Wrapper. I often tell buyers to leave their box size, paper type, and target output with their contact details. That makes the next step much faster.
How to color a cardboard box?
I often see people think coloring a box is only about paint. That idea usually leads to weak color, slow work, and uneven results.
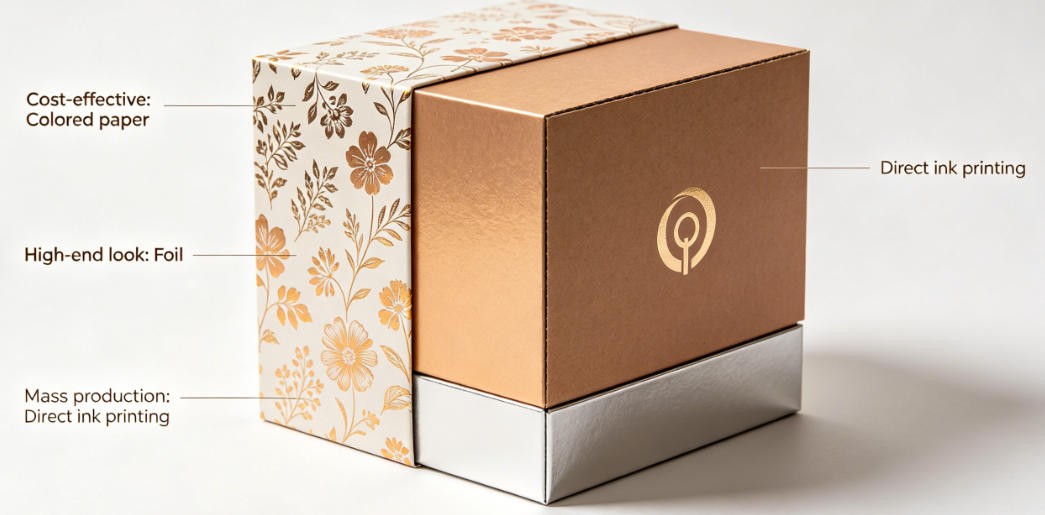
I color a cardboard box with the method that fits the job. I use printed wrap paper, colored paper, direct ink printing, coating, or foil, based on cost, look, and volume.
How I Choose The Color Method
When I need a simple color change, I do not always print a full graphic. I may use dyed or pre-colored paper for the wrap. That gives me a clean and even look. When I need logos, photos, gradients, or fine text, I use printing on the top sheet. When I need a premium touch, I add hot stamping, embossing, or spot effects. I think this matters because many buyers ask for “colored boxes” when what they really want is a stronger shelf look.
I also think about rubbing, moisture, and handling. A dark color can mark easily. A matte surface can look elegant but may show scratches. A gloss film can protect color, but it changes the feel. So I do not choose color alone. I choose color and protection together.
| Goal I have | Method I prefer | Why I use it |
|---|---|---|
| Solid color with clean look | Colored wrap paper | Fast and neat for premium boxes |
| Rich art and photos | Offset or digital print on wrap sheet | High detail and brand accuracy |
| Metallic effect | Foil stamping | Strong luxury signal |
| Tougher surface | Lamination or varnish | Better rub resistance |
For surface effects, I would review Pneumatic Hot Stamping Machine when I want foil highlights on names, logos, or borders. If I need neat board preparation before wrapping, I would also check Manual groove machine with corner cutter. I often share a simple rule from my own work: if the color must sell the product, I never leave the finish choice until the end. If a reader wants help, I want them to send me the color goal, box style, and email or WhatsApp so I can point them to the right solution.
Can shipping boxes be colored?
I hear this question a lot because many brands want shipping boxes to do more than protect goods. They want the box to market the brand too.
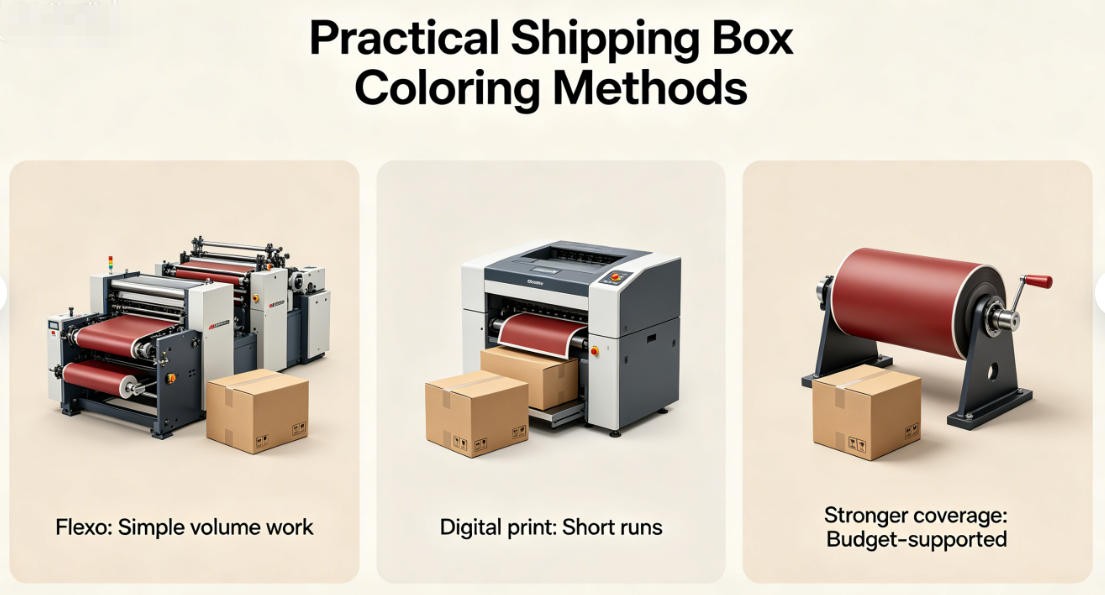
I can color shipping boxes, but I keep the method practical. I use flexo for simple volume work, digital print for short runs, and stronger coverage only when the budget supports it.
What I Think About For Shipping Boxes
I always remind buyers that a shipping box lives a harder life than a gift box. It gets stacked, rubbed, taped, and moved. That means the color choice must work with the box strength and the transport route. I can print one color or two colors very cheaply on corrugated cartons. I can also print full color on some shipping boxes, but I watch the cost, the image sharpness, and the board surface very closely.
I also think about where the print sits. Outside print helps branding. Inside print creates an unboxing effect. Both are possible, but each adds cost. If I only need a strong logo and shipping marks, I keep it simple. If I want the box to feel more branded, I may move to better liner paper or digital print.
| Shipping need | Method I would use | My reason |
|---|---|---|
| Basic warehouse carton | One-color flexo | Lowest cost and easy repeat |
| E-commerce branded shipper | Digital print | Better short-run color and faster change |
| Premium mailer | Laminated printed sheet on stronger structure | Better appearance |
| Fast reorder cycles | Simple logo print | Easy file control and stable cost |
When a buyer wants to move from plain shipping cartons to stronger branded packaging, I often guide them toward structure first and color second. If the product is moving into a luxury channel, I may suggest a rigid box line instead of forcing a shipping carton to look premium. In those cases, I like buyers to compare Fully Automatic Box Folding Machine with Fully Auto rigid box machine 2024. If they leave the box dimensions, monthly quantity, and contact information, I can usually tell very quickly which route makes more sense.
How to customize a cardboard box?
I see many buyers focus on artwork first, but a custom box fails if the size, opening style, and machine path do not match.
I customize a cardboard box by locking five things first: box style, size, board, print finish, and production volume. After that, I match the right machine and sample path.
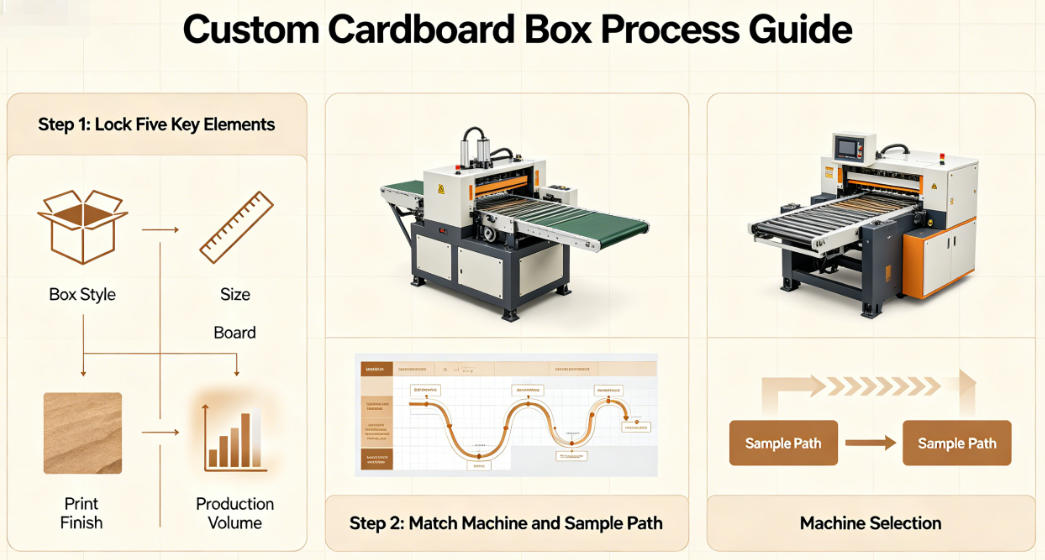
My Custom Box Checklist
I like custom box work because it gives me room to solve real business problems. I can make a box open better, protect better, look better, or run faster on the line. Still, I keep my method simple. I start with the product size. Then I ask how the box opens. Then I ask what feeling the brand wants. Only after that do I talk about printing and machines.
I also divide customization into structure and decoration. Structure includes rigid boxes, magnetic boxes, foldable boxes, thumb cuts, book-style covers, and special polygon shapes. Decoration includes color, foil, lamination, embossing, and texture. When I keep those two parts separate, I make better choices.
| Part of customization | What I decide | Machine link I would review |
|---|---|---|
| Rigid box forming | Standard premium box structure | Fully Auto rigid box machine 2024 |
| Folded paperboard box | Faster paperboard forming | Fully Automatic Box Folding Machine |
| Special shape box | Polygon or unusual structure | Semi Auto Polygon Rigid Box Wrapper |
| Easy-open feature | Thumb cut detail | Automatic Thumb Cutting Machine For boxes |
| Premium surface detail | Foil effect and highlight | Pneumatic Hot Stamping Machine |
When I help a buyer move from idea to order, I ask for six things: product size, box style, paper or board type, artwork goal, monthly output, and shipping country. I also ask for an email address or WhatsApp number because machine advice gets much easier when I can send a layout, video, or sample suggestion. In my experience, the fastest projects start when the buyer leaves clear contact details and a short list of needs on the website.
Conclusion
I get the best cardboard box result when I match print, color, structure, and machine choice early, then turn reader interest into a real inquiry with clear contact details.

发表回复